
 With all the grilling and testing that goes on around here some of the young’uns have gotten bit by the grilling bug. It is little wonder that some of them have started wanting to try their hands at grilling. Things really started taking off with the outstanding success of “S’more-dillas“. Today a couple of the young’uns asked if they could season some ribs. Not being one to want to disappoint the kids and seeing a great opportunity to do a little teaching I told them each to choose a rub. One of them chose the KA-Ranch Big Cow Creek rub that we have been testing. The other went straight for another KA-Ranch rub that we have been testing, Trail Dust.

Applying rub to Country Style Ribs.
Since this was a teachable moment I decided to have the kids do everything from getting the meat out of the package to rubbing the ribs. Most kids love to get their hands dirty, so it didn’t take much coaxing to get them involved. Explaining each step was not only essential but prompted more questions from them which in turn got them more enthusiastic about grilling.
Step 1:
I started by having the young’uns gather everything that we would need to prepare the the ribs.
Items:
Medium sized, glass dish with deep sides
Package of ribs
Dry rub
1 gallon zip-lock bag
The all important napkin or hand towel
The only explanations that I had to give in this step where, why we use a glass dish, what the zip-lock bag was for, and why we need the napkin. The need for the glass dish is so that none of the ingredients in the rubs react with any elements of the dish, like they might in a metal pan or dish, and alter the flavor. This is the same reason we used a quality 1 gallon zip-lock bag to store the meat in the fridge while it marinades for 24 hours. And why do we need the napkin or hand towel? Well, otherwise we have to wipe our hands on our shirts or pants and mommy tends to understand the clever thinking behind marinating our clothes.
Step 2:

Putting rub on Country Style Ribs.
Time to rub the ribs. This is where the fun really begins for the young’uns. Once they got started they were a little disappointed that the shaking and rubbing went so fast. That is until one of them asked, “Can I rub the other side too?” My answer was, “No, you need to rub all four sides.” That lit their little faces up.
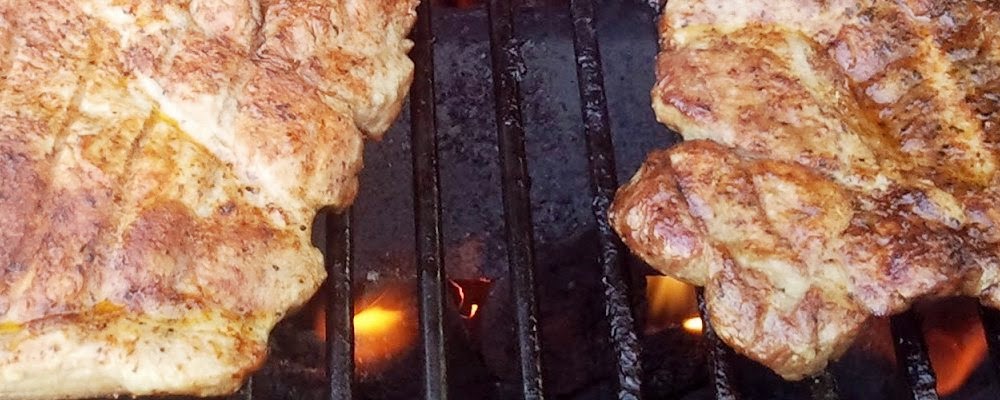
Then we had another teachable moment when one of them asked, “Should I put seasoning on this white part?” The white part was the layer of fat on some of the ribs. I took the time to explain that some people trim the fat off and then season the meat under the fat, some people just season the fat, and others don’t season it at all. I let the young’uns decide what they wanted to do with the layer of fat. They chose to leave it on and season it. They wanted to leave the fat once I explained that it can add to the tenderness and juiciness of the meat if left on. They weren’t very concerned about the health aspects of trimming the fat. I decided not to push the issue since I had decided to grill/smoke these ribs a longer than normal to get a really nice bark on them.
Step 3:

These ribs are done being rubbed and ready to chill out.
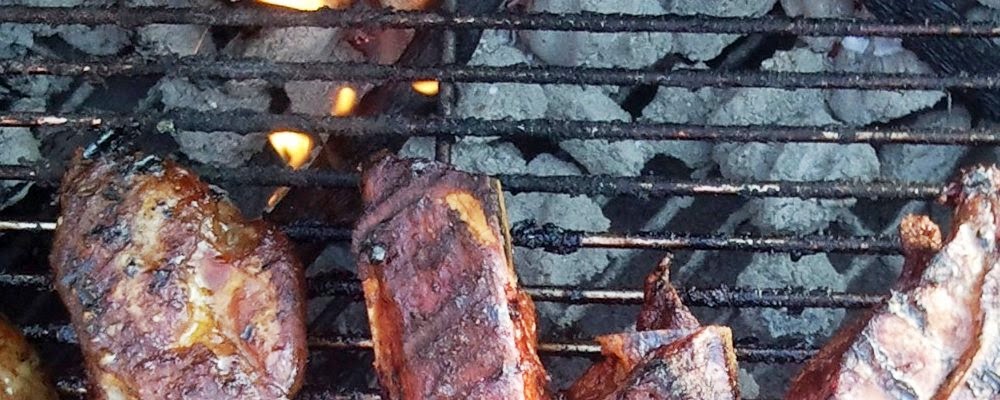
Once the fun and messy part of rubbing ribs was done it was time for another important step in the process. Time to put the ribs in the 1 gallon zip-lock bags, put them in the fridge and clean up. This is when I took the time to explain that letting the meat sit in the fridge for a few hours allows the flavor from the spices in the rub to absorb deep into the meat. We also talked about how long it was really necessary for the meat to marinade. They easily understood that a bigger piece of meat needs more time and that the flavor will not absorb all the way through large pieces. I also explained that there is a point in time where as much flavor as possible would have absorbed into the meat. So, letting the meat marinade longer than that was not necessary.
It was pretty easy to get the young’uns to clean up. While they were still excited about their accomplishment, I explained that if we didn’t clean up after ourselves certain people would not be happy with the mess that we left behind. I also explained that true Grill Masters didn’t leave their tools and messes laying around. Clean up went quickly, and we only had one shirt that got marinaded.
Get out and grill,
Robert


What Grill Masters are saying.